guys i got an question i hope someone can help me out. ive got a berrien chassis im trying to mock up and get brackets welded before i send it for pwdercoat.they sent a tube for the throttle cable to run threw,but i cant figure where to mount the thing.I see where it mounts at the rear,but where does the cable enter at the front?Im going with a peddle asembly by cnc not the stock unit. there is a bracket where im assume the peddle assembly mounts at the right center and a master cyl mount that ill have to remove for the cnc unit to mount. also the shifter and e-brake mount directly to the fiberglass floor.Is that strong enough to suport these or do
i need to reinforce them with steel?
sorry for the long post thanks
capmike
TROTTLE CABLE MOUNT
Moderator: Ken
5 posts
• Page 1 of 1
TROTTLE CABLE MOUNT
![]() by capmike » 28 Sat Oct, 2006 10:46 pm
by capmike » 28 Sat Oct, 2006 10:46 pm
- capmike
- Buggy Nut
- Posts: 41
- Joined: 14 Wed Jun, 2006 10:06 am
- Location: north texas
![]() by Yellermanx » 28 Sat Oct, 2006 11:26 pm
by Yellermanx » 28 Sat Oct, 2006 11:26 pm
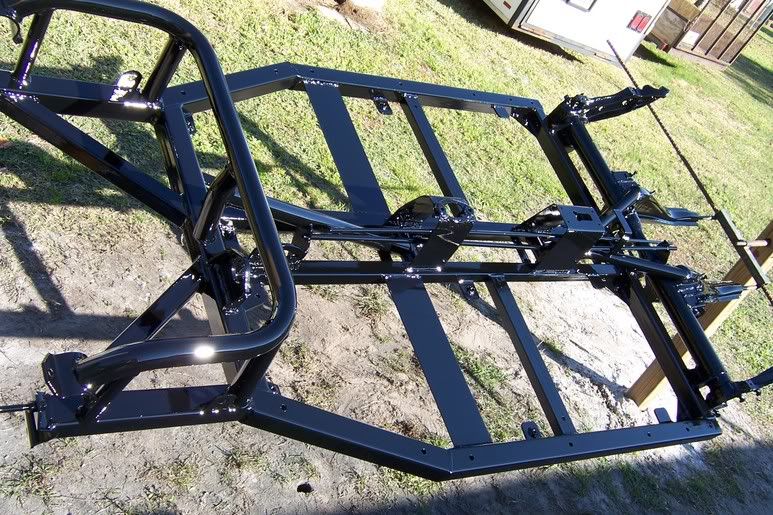
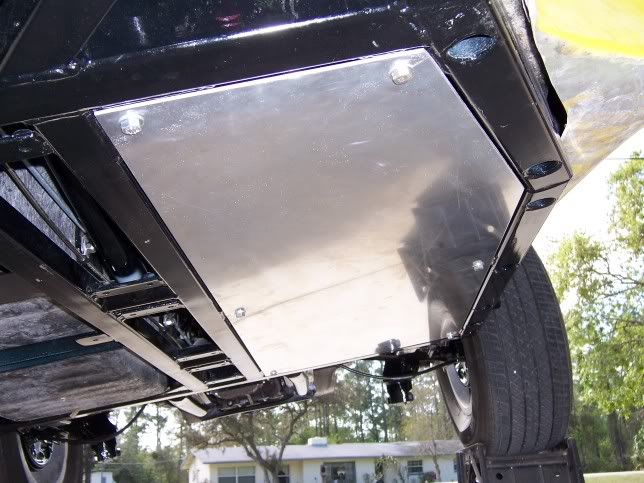
Hey Capmike, I had the same concerns as you when I put my Berrien chassis together. Berrien wants you to bolt the shifter, e-brake and throttle cable to the fiberglass floor. Others have assured me that that it is not a problem, however I did a little extra anyway. I welded mounts for the e-brake and shifter to the frame. They fit tight against the bottom of the fiberglass pan then sandwich it. I then welded the throttle cable tube to those. The shifter and e-brake mounts add extra support to the fiberglass. I had heard others complain about the floor flexing in front of the seat when you step in so I added supports there also. I also mounted nut plates underneath for belly pans. You can see most of this in these pics. I think it was well worth the extra effort. My buggy is solid as a rock and very few noises. I also welded bolts to the frame to bolt the fuel and brake lines to as well as the e-brake cable tubes. You can see many pics of the build here http://smg.photobucket.com/albums/v635/ ... ?start=all
A few select pics.
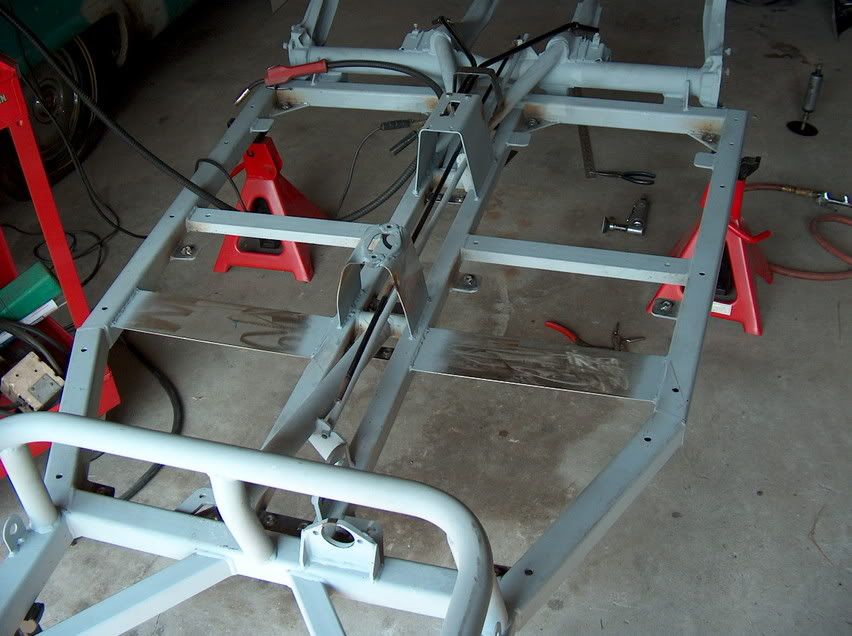
Pedal area and fuel and brake line mounts.

Belly pans, just recently got stainless button head bolts to replace the ones in the picture.
A few select pics.
Pedal area and fuel and brake line mounts.
Belly pans, just recently got stainless button head bolts to replace the ones in the picture.
- Yellermanx
- Buggy Builder
- Posts: 19
- Joined: 02 Sun Oct, 2005 6:48 pm
- Location: New Smyrna Beach, Fl
![]() by capmike » 28 Sat Oct, 2006 11:40 pm
by capmike » 28 Sat Oct, 2006 11:40 pm
thanks yellowmanx,thats what i needed to know.it seems to me with the shifter and e brake mounted to the fiberglass that eventually the fiberglass would wear through. thanks a lot
mike
mike
- capmike
- Buggy Nut
- Posts: 41
- Joined: 14 Wed Jun, 2006 10:06 am
- Location: north texas
![]() by blackthree4me » 29 Sun Oct, 2006 9:43 am
by blackthree4me » 29 Sun Oct, 2006 9:43 am
verry verry nice!
keep us posted on progress
keep us posted on progress
if it aint broke, break it then fix it
-

blackthree4me - Buggyholic
- Posts: 631
- Joined: 12 Wed Oct, 2005 1:13 pm
- Location: Spring TX
![]() by Yellermanx » 29 Sun Oct, 2006 12:28 pm
by Yellermanx » 29 Sun Oct, 2006 12:28 pm
blackthree4me wrote:verry verry nice!
keep us posted on progress
Thanks, but it's pretty much done for now. Other build pictures here.
http://smg.photobucket.com/albums/v635/ ... ?start=all
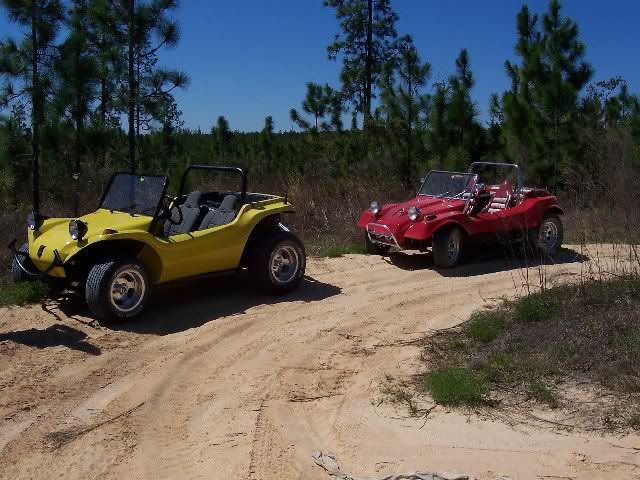
Buggy as it is now.
2" body lift

I still have plans to polish the windshield frame build a stainless roll cage, bumper,engine cage and redo the body to this color. Someday!

- Yellermanx
- Buggy Builder
- Posts: 19
- Joined: 02 Sun Oct, 2005 6:48 pm
- Location: New Smyrna Beach, Fl
5 posts
• Page 1 of 1
Who is online
Users browsing this forum: No registered users and 9 guests