Me? well my buggy is sitting in the garage gathering dust. I need to rebuild the carbs, look for a suspected vacuum leak and replace the shift rod bushing. Maybe someday......
How about the rest of the gang...? Doing anything fun with your buggy?
Moderator: Ken
![]() by GregR » 07 Wed Mar, 2007 5:05 pm
by GregR » 07 Wed Mar, 2007 5:05 pm

![]() by Buggy1 » 07 Wed Mar, 2007 7:43 pm
by Buggy1 » 07 Wed Mar, 2007 7:43 pm
![]() by BuggymanJohn » 07 Wed Mar, 2007 7:54 pm
by BuggymanJohn » 07 Wed Mar, 2007 7:54 pm
![]() by blackthree4me » 07 Wed Mar, 2007 8:38 pm
by blackthree4me » 07 Wed Mar, 2007 8:38 pm

![]() by staggerwing » 07 Wed Mar, 2007 9:42 pm
by staggerwing » 07 Wed Mar, 2007 9:42 pm

![]() by Frontloader » 07 Wed Mar, 2007 9:49 pm
by Frontloader » 07 Wed Mar, 2007 9:49 pm
![]() by ckolek » 09 Fri Mar, 2007 8:41 am
by ckolek » 09 Fri Mar, 2007 8:41 am

![]() by David Head » 09 Fri Mar, 2007 9:51 am
by David Head » 09 Fri Mar, 2007 9:51 am
![]() by Texasbuggys » 09 Fri Mar, 2007 1:39 pm
by Texasbuggys » 09 Fri Mar, 2007 1:39 pm

![]() by Aquabuggy » 24 Sat Mar, 2007 8:16 pm
by Aquabuggy » 24 Sat Mar, 2007 8:16 pm

![]() by Frontloader » 24 Sat Mar, 2007 9:47 pm
by Frontloader » 24 Sat Mar, 2007 9:47 pm
![]() by staggerwing » 30 Fri Mar, 2007 8:13 pm
by staggerwing » 30 Fri Mar, 2007 8:13 pm
![]() by capmike » 10 Tue Apr, 2007 2:47 am
by capmike » 10 Tue Apr, 2007 2:47 am
![]() by staggerwing » 10 Tue Apr, 2007 7:56 am
by staggerwing » 10 Tue Apr, 2007 7:56 am
![]() by capmike » 10 Tue Apr, 2007 7:40 pm
by capmike » 10 Tue Apr, 2007 7:40 pm
![]() by MURZ » 10 Tue Apr, 2007 9:10 pm
by MURZ » 10 Tue Apr, 2007 9:10 pm
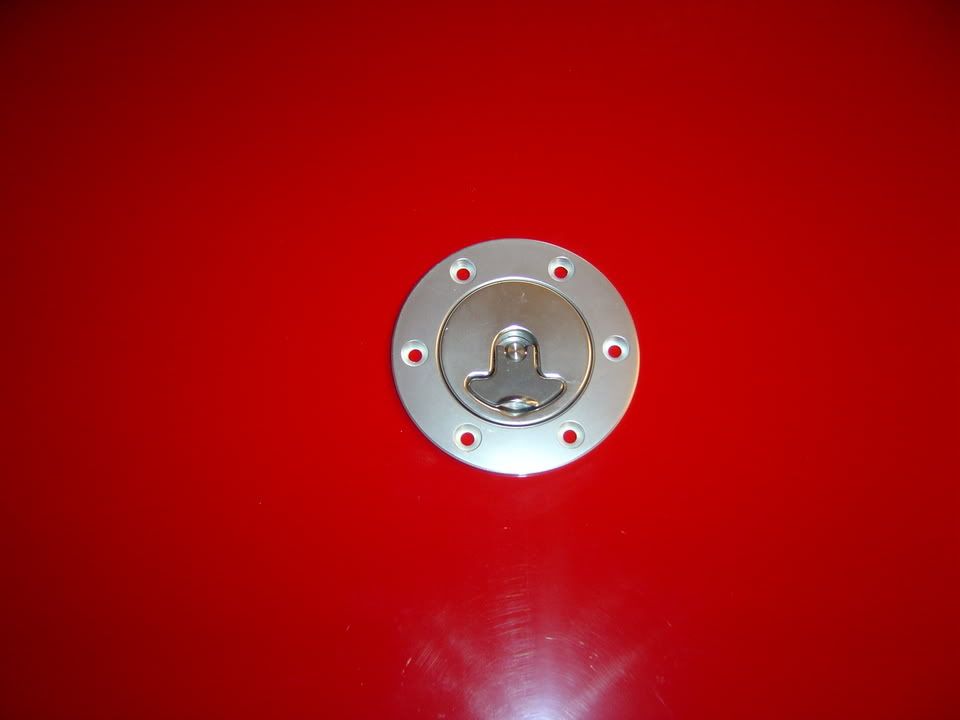
Hey Murz, where'd you find that fuel filler cap!
![]() by staggerwing » 10 Tue Apr, 2007 9:19 pm
by staggerwing » 10 Tue Apr, 2007 9:19 pm
![]() by GregR » 14 Thu Jun, 2007 9:19 am
by GregR » 14 Thu Jun, 2007 9:19 am
![]() by David Head » 14 Thu Jun, 2007 9:55 am
by David Head » 14 Thu Jun, 2007 9:55 am
![]() by staggerwing » 14 Thu Jun, 2007 10:03 am
by staggerwing » 14 Thu Jun, 2007 10:03 am
![]() by David Head » 14 Thu Jun, 2007 10:10 am
by David Head » 14 Thu Jun, 2007 10:10 am
Users browsing this forum: No registered users and 13 guests